Prototyping is a cornerstone of the UX design process, offering a way to visualise, test, and refine ideas before committing to final designs. It’s where creativity meets practicality, allowing designers to experiment, gather feedback, and make informed decisions. Whether you’re a seasoned UX designer or just dipping your toes into the field, understanding prototyping is essential to creating user-friendly, effective designs.
At Yellowball, we know the value of user-centred design. Prototyping is a process we swear by to deliver experiences that engage and convert. This guide will explore what prototyping is, its benefits, tools, techniques, and best practices for implementing it in your UX workflow.
What Is Prototyping in UX?
In UX design, prototyping refers to creating a preliminary version of a product or interface to test its design, functionality, and usability. A prototype serves as a working model that simulates user interaction, helping designers and stakeholders visualise the end product and identify potential improvements early in the design process.
Prototypes can range from low-fidelity sketches or wireframes to high-fidelity interactive models that closely mimic the final product. By bridging the gap between abstract ideas and real-world applications, prototyping ensures designs align with user needs and business goals.
Why Is Prototyping Important in UX Design?
Prototyping plays a critical role in UX design for ecommerce and business websites for several reasons:
1. Validates Ideas Early
Prototyping allows you to test ideas and concepts in a tangible way, ensuring they resonate with users before significant resources are invested.
2. Reduces Development Costs
By catching usability issues and design flaws early, prototyping saves time and money in the later stages of development.
3. Enhances Collaboration
Prototypes provide a visual representation that stakeholders, developers, and designers can discuss, improving communication and alignment.
4. Focuses on User Needs
Through testing, prototypes reveal how real users interact with the design, highlighting areas for improvement.
5. Encourages Iteration
Prototyping fosters an iterative approach, allowing designs to evolve and improve based on continuous feedback.
6. Mitigates Risk
Testing prototypes helps uncover potential roadblocks or design flaws that could otherwise disrupt the project later.
7. Improves Stakeholder Confidence
Interactive prototypes give stakeholders a clearer picture of the final product, making it easier to gain approval and buy-in.
8. Boosts User Satisfaction
By addressing usability issues before launch, prototypes contribute to a smoother user experience, higher satisfaction rates, and increased conversion rates for ecommerce stores.
9. Streamlines Communication
Prototypes act as a shared reference point for teams, ensuring everyone is on the same page and reducing misunderstandings.
10. Supports Innovation
Prototyping encourages experimentation, enabling designers to explore creative solutions without the fear of wasting resources.
Types of Prototypes in UX
1. Low-Fidelity Prototypes
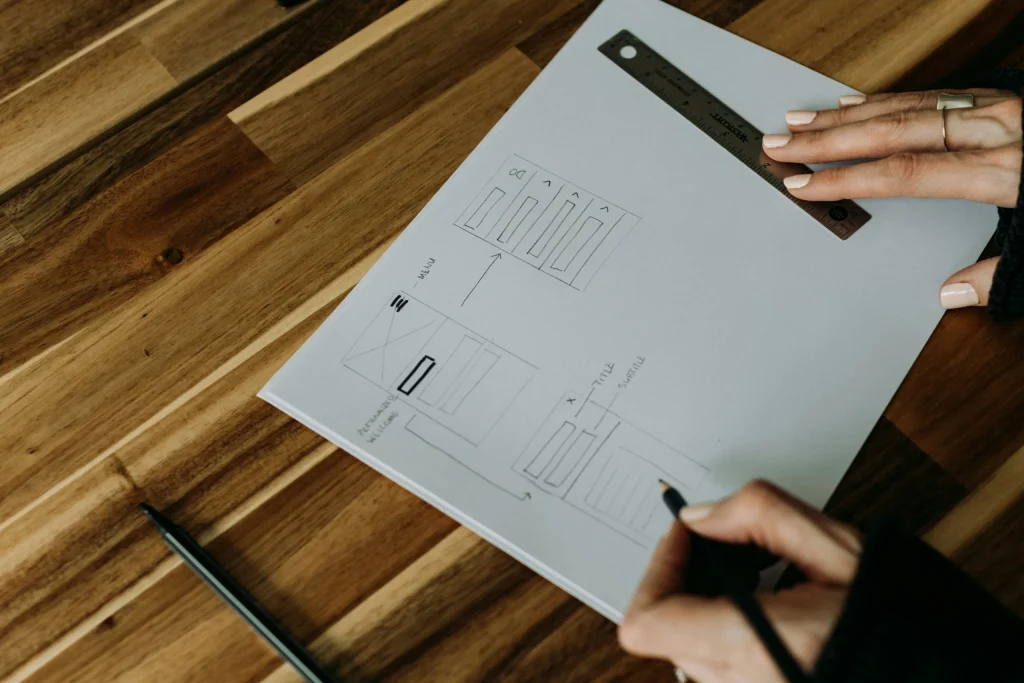
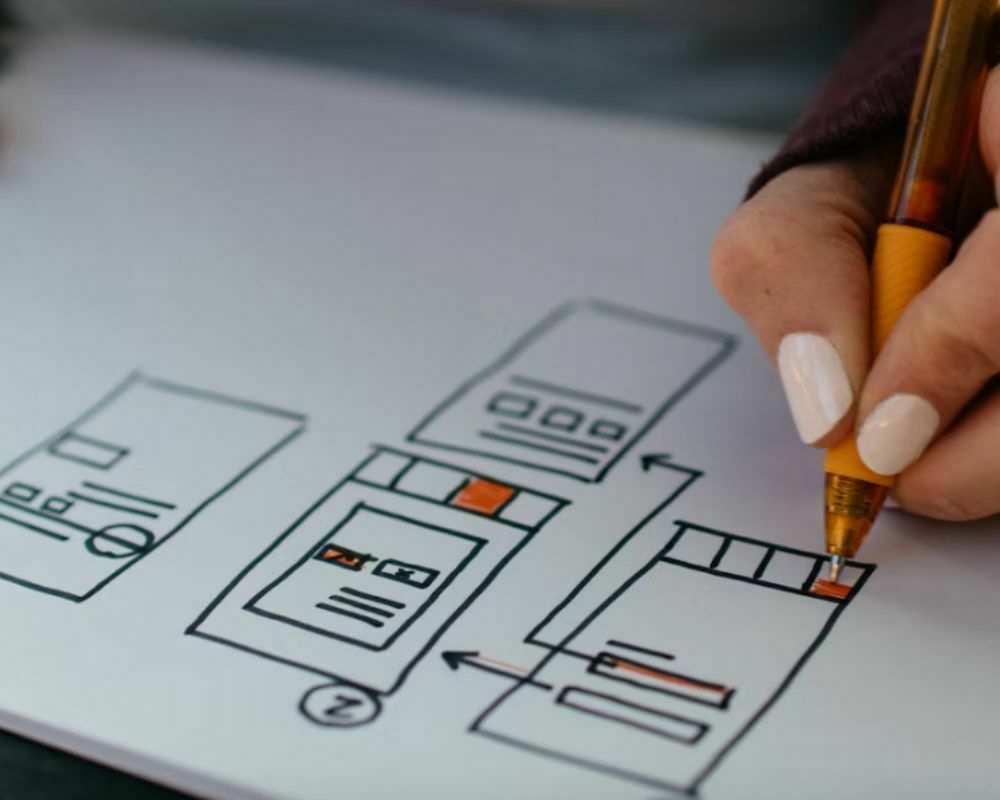
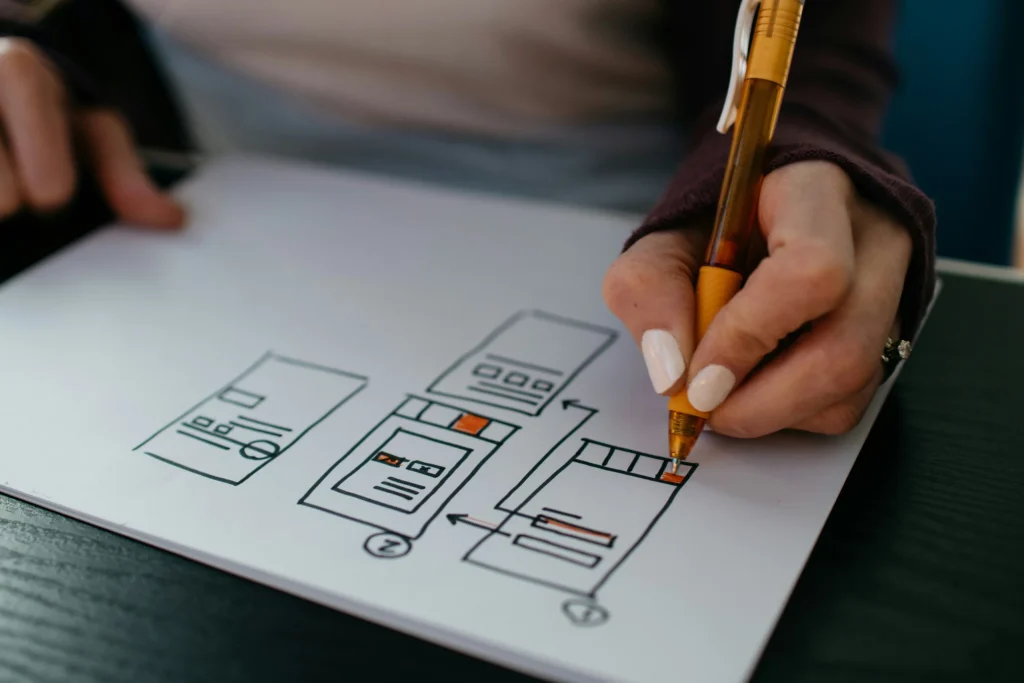
Low-fidelity prototypes are rough, simple representations of a design, often created with pen and paper or basic digital tools. They focus on layout and structure rather than visual details.
- Purpose: Ideation and early feedback.
- Tools: Paper, Balsamiq, or Figma’s wireframing features.
2. Mid-Fidelity Prototypes
These include more detailed layouts, often in grayscale, with clickable elements to simulate navigation. They provide a clearer idea of the design’s flow.
- Purpose: Usability testing and navigation feedback.
- Tools: Adobe XD, Sketch, or Figma.
3. High-Fidelity Prototypes
High-fidelity prototypes closely resemble the final product, complete with colours, fonts, and interactivity. They simulate real user experiences.
- Purpose: Stakeholder buy-in and advanced usability testing.
- Tools: Figma, InVision, or Axure.
Prototyping Tools to Consider
- Figma
An all-in-one tool for design, prototyping, and collaboration, ideal for low- and high-fidelity prototypes.
- InVision
Specialises in creating clickable prototypes and gathering user feedback, great for collaboration.
- Adobe XD
A robust tool for designing and prototyping interactive user experiences with seamless integration into other Adobe apps.
- Axure RP
Perfect for advanced prototypes with complex interactions and dynamic content.
- Balsamiq
Focused on low-fidelity wireframes and quick mock-ups, great for early-stage ideation.
- Sketch
A versatile design tool with excellent prototyping features, particularly suitable for creating mid- to high-fidelity designs.
- Marvel
Ideal for rapid prototyping and simple interactive designs, Marvel is user-friendly and great for beginners.
- Proto.io
A feature-rich tool that supports creating fully interactive high-fidelity prototypes without needing any coding skills.A feature-rich tool that supports creating fully interactive high-fidelity prototypes without needing any coding skills.
The Prototyping Process: A Step-by-Step Guide
Prototyping is more than just creating a visual representation of your ideas—it’s a systematic process that helps refine and perfect your design. Below, we dive into each step with practical advice to ensure a smooth workflow.
Step 1: Define Goals
Before starting your prototype, it’s essential to have a clear understanding of what you want to achieve. Ask yourself:
- Are you testing the overall navigation and flow?
- Do you want to validate specific features or interactions?
- Is your goal to present the design to stakeholders for approval?
Defining clear, measurable objectives will keep your prototyping process focused. For example, if you’re testing navigation, focus on creating clickable elements that mimic user journeys. If you’re presenting to stakeholders, emphasise aesthetics and branding. Aligning your goals with your audience (users, stakeholders, or developers) ensures your prototype delivers the right insights.
Practical Tip: Write down 3-5 specific goals for your prototype. Share these with your team to ensure everyone is aligned.
Step 2: Choose the Right Fidelity
The fidelity of your prototype—low, mid, or high—determines how much detail it includes and how closely it resembles the final product. Choosing the right fidelity depends on your goals, timeline, and audience.
- Low-Fidelity Prototypes: Ideal for brainstorming and exploring ideas quickly. They focus on structure and functionality without visual details. Use these for early-stage feedback.
- Mid-Fidelity Prototypes: Include basic interactivity and more detailed layouts. These are great for usability testing and refining navigation.
- High-Fidelity Prototypes: Closely mimic the final product with colours, typography, and interactive elements. Use these for stakeholder presentations or advanced testing.
Practical Tip: Don’t over-invest in high-fidelity prototypes too early. Start simple and evolve the fidelity as your design progresses.
Step 3: Design the Prototype
Now it’s time to start building your prototype. Use the tools and fidelity you’ve chosen to create a model that reflects your design goals.
- Focus on User Flows: Identify the most critical user journeys (e.g., signing up, making a purchase) and ensure your prototype includes these flows.
- Highlight Core Features: Don’t try to include everything in your prototype. Focus on the essential features that align with your goals.
- Maintain Consistency: Even in low-fidelity prototypes, ensure layouts and interactions are consistent to avoid confusing users during testing.
Practical Tip: Start with basic components or templates available in your prototyping tool (e.g., Figma or Adobe XD) to save time and ensure consistency.
Step 4: Test with Users
Testing your prototype with real users is where the magic happens. Usability testing helps you understand how people interact with your design and identify areas for improvement.
- Recruit the Right Users: Choose participants that reflect your target audience for accurate insights.
- Provide Context: Brief users on the purpose of the prototype and the tasks you’d like them to complete. For example, “Find and purchase a product.”
- Observe Interactions: Watch how users navigate the prototype, noting any moments of confusion or hesitation.
Practical Tip: Use screen recording tools or testing platforms like UserTesting or Lookback to capture user interactions for later review.
Step 5: Gather Feedback
Feedback is the foundation of effective iteration. After usability testing, analyse the data to pinpoint specific issues and opportunities.
- Categorise Feedback: Group findings into categories like navigation issues, design inconsistencies, or feature requests.
- Prioritise Changes: Use a prioritisation matrix to determine which issues to address first based on impact and effort.
- Communicate Findings: Share a summary of the feedback with your team, highlighting key insights and next steps.
Practical Tip: Create a feedback document or spreadsheet to track issues, user comments, and proposed changes for transparency.
Step 6: Iterate
Iteration is what transforms good designs into great ones. Use the feedback you’ve gathered to refine your prototype.
- Focus on Key Improvements: Address the most critical issues first to ensure your prototype evolves in the right direction.
- Test Again: After making changes, test the updated prototype with users to validate the improvements.
- Document Changes: Keep a record of what’s been updated to provide context for stakeholders and team members.
Practical Tip: Set a limit on the number of iterations for each round to keep the process efficient and avoid perfectionism.
Step 7: Finalise for Development
Once the prototype aligns with your goals and has been validated through testing, it’s time to prepare it for development.
- Add Annotations: Include notes on interactions, animations, and other key details developers will need to replicate the design accurately.
- Ensure Technical Feasibility: Collaborate with developers to ensure all elements of the prototype can be implemented as intended.
- Handoff with Precision: Use tools like Zeplin or Figma’s developer mode to streamline the handoff process, ensuring developers have access to all necessary assets and specifications.
Practical Tip: Schedule a handoff meeting with your design and development teams to review the prototype and address any questions or concerns.
Best Practices for Prototyping in UX
Implementing these best practices in prototyping ensures your designs are user-focused, efficient, and ready to evolve based on valuable feedback and real-world interactions.
- Start Simple:
Begin with low-fidelity prototypes to focus on functionality and user flow without getting bogged down in visual details. - Focus on Core Interactions:
Prioritise the most important user interactions, ensuring your prototype addresses key goals and pain points. - Involve Stakeholders Early:
Invite input from stakeholders during the prototyping phase to ensure alignment and avoid major revisions later. - Test Early and Often:
Regular usability testing helps catch issues early and keeps the design process user-focused. - Stay Flexible:
Be prepared to adapt your prototype based on user feedback and evolving project requirements. - Use Real Content When Possible:
Avoid placeholder text and images. Using realistic content enhances the authenticity of your prototype. - Document Changes:
Keep a record of changes made during the prototyping process to provide clarity for team members and stakeholders. - Utilise Feedback Effectively:
Not all feedback is equally valuable. Focus on insights that align with your design goals and improve user experience. - Collaborate with Developers:
Involve developers during prototyping to ensure technical feasibility and smooth transitions to development. - Iterate with Purpose:
Don’t iterate endlessly. Set clear objectives for each round of feedback and testing to maintain progress.
Prototyping in UX FAQs
Prototyping helps designers visualise and test ideas early in the design process. It allows teams to evaluate functionality, usability, and user experience before committing to a final design.
Prototyping enhances the UX process by offering a practical way to test and refine concepts. It fosters early feedback to identify usability issues and refine designs before development begins.
Wireframes are static layouts that define the structure and placement of elements, focusing on functionality and navigation. Prototypes are interactive and simulate user interactions, bringing designs to life.
The best tools depend on your project’s complexity. For quick mock-ups, tools like Balsamiq and Figma excel, while Adobe XD and InVision are great for interactive prototypes.
Low-fidelity prototypes are ideal for brainstorming and testing early concepts, focusing on structure and usability. High-fidelity prototypes closely mimic the final product, perfect for stakeholder presentations and advanced usability testing.
Prototyping should be integrated throughout the UX design process, from ideation to final testing. Regular prototypes ensure alignment with user needs and help refine features at each stage.
Absolutely! By identifying potential issues early, prototyping reduces costly revisions during development. It improves collaboration and streamlines the design process, ensuring a smoother transition to development.
From Ideas to Impact: Prototyping Drives UX Innovation in Web Development
Prototyping is an essential step in the UX design process, bridging the gap between concepts and final products. By creating interactive models, designers can test ideas, gather feedback, and refine their work to ensure the best user experience. From low-fidelity sketches to high-fidelity simulations, prototypes help align teams, reduce costs, and build products that truly resonate with users.
With over 150 bespoke websites live and thriving, we know how essential prototyping is to create user-centric designs that deliver exceptional results for business websites and ecommerce stores. Whether you’re launching a new website or improving an existing one, our expertise ensures your WordPress, WooCommerce, or Laravel web design project is grounded in strong UX principles. Contact us today to find out more about our UX & UI services.
Read more: What are Microinteractions?


